The Airbrush
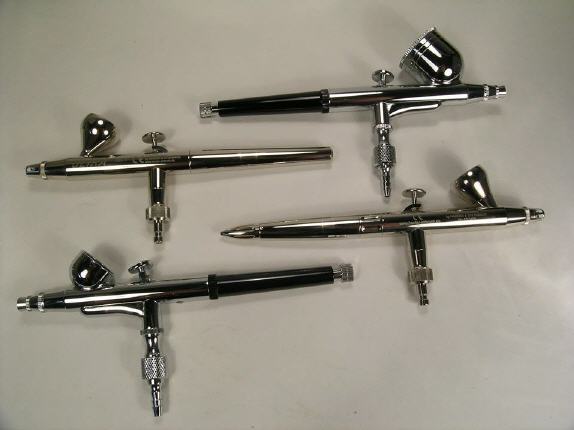
Almost all airbrush models available on market have the same design, with different noozle tip needle and caliber, 0.15, 0,2, 0, 3, 0,4 or 0,5, high quality steel made or with cheap materials, with a big cup or small one, with teflon or rubber components...To chosse a model depends of our experience and AB skill.
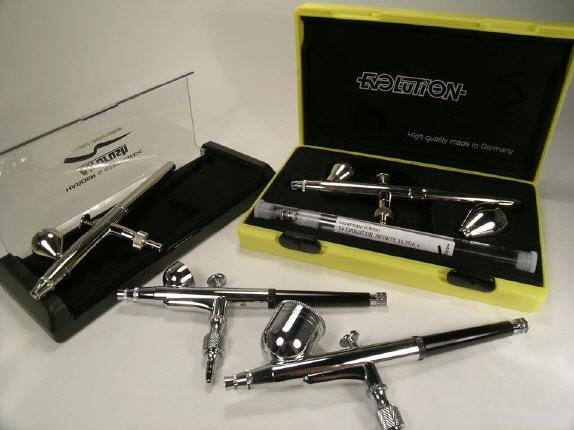
Actually you can find in the market lots of airbrushes and models, with different quality level and price. Is a "must" in the tools stash for modellers, the evolution of regular brushes for the best result and finish over a model
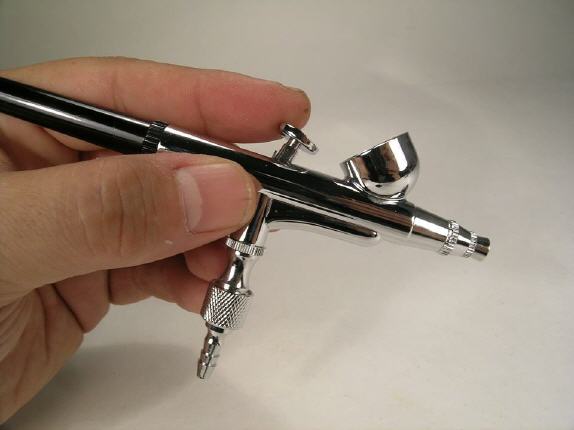
You can find on market two ways to work with an Airbrush, it differs from how air and paint can be mixed and flow: single action, with air in one side and the paint in other one, with a vacuum effect over this one, or the well know double effect, gravity system, mixing the air ratio and paint into a cup.
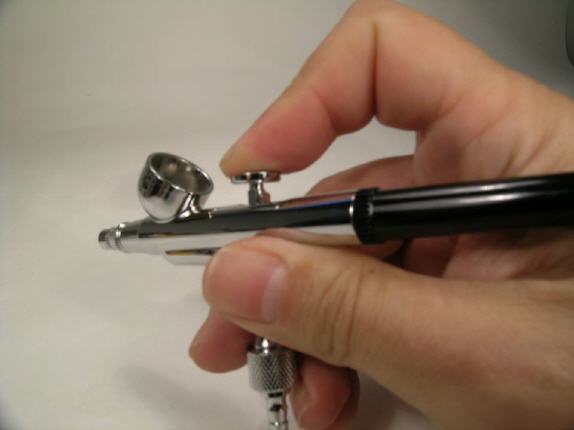
With a double action system is very easy to work with the ratio on air and paint, some models have too a screw regulator for fix this ratio and work without problem with a regular mix. When you push the trigger you can have the air pressure under control, pulling back the trigger, this starts to work over the paint and flow.
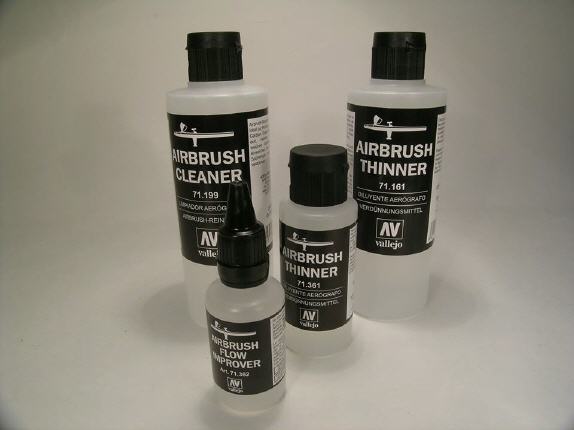
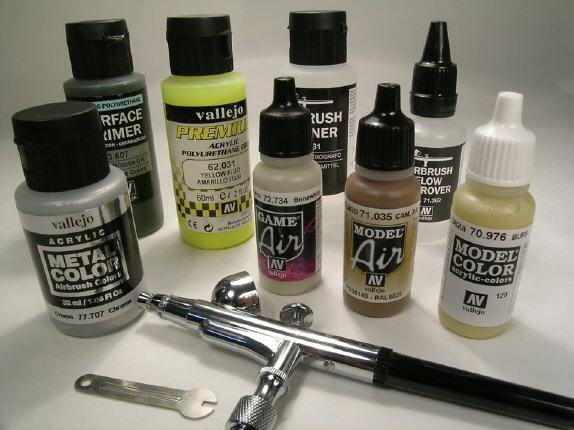
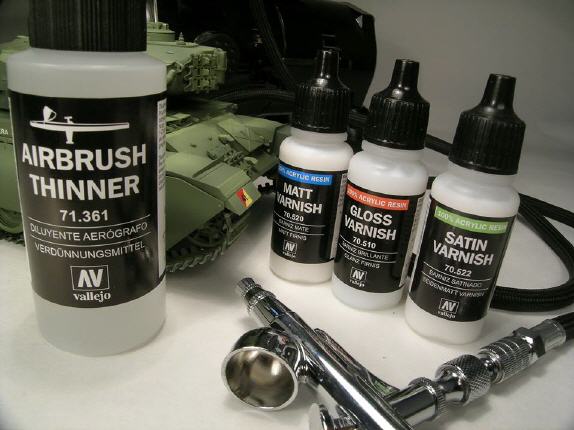
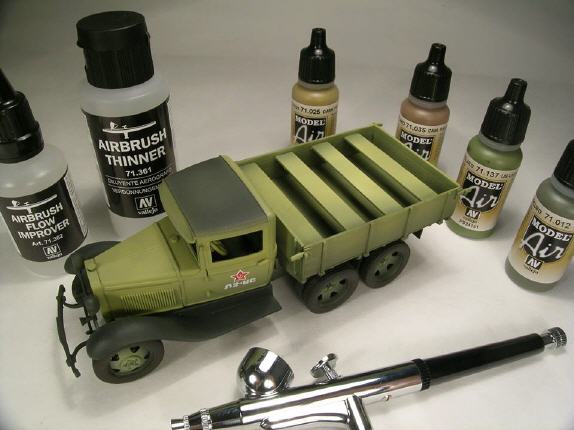
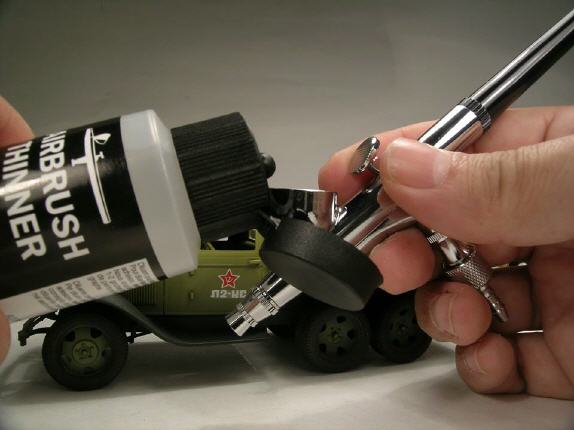
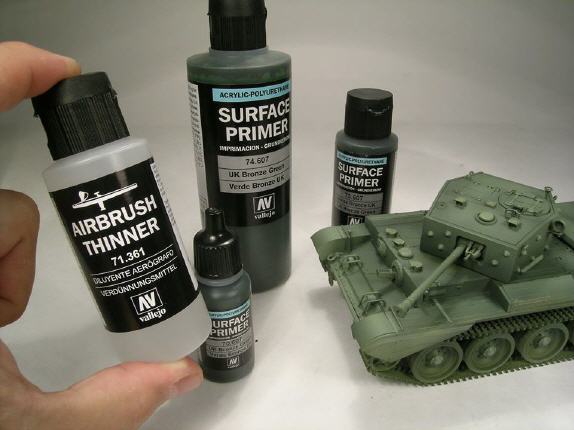
You can use too the Vallejo range of products for an Airbrush, to clean it, to thinn down the paint or just for a best flow ratio, Airbrush Cleaner, Airbrush Thinner and Airbrush Flow Improver
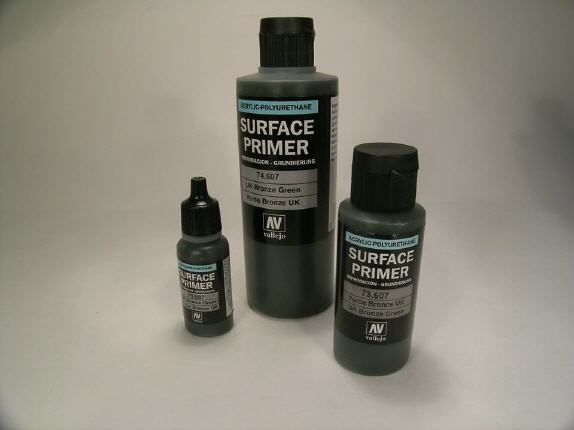
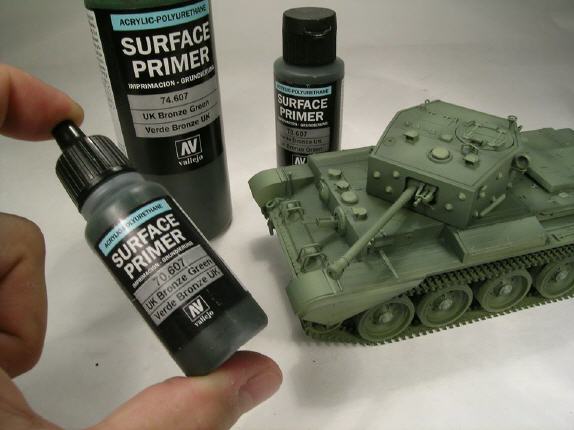
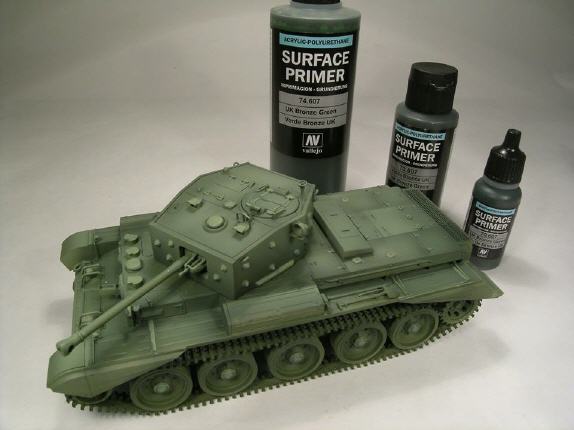
You can use a great range of Vallejo products designed for AB use without Thinner, in this case our Primer with all the colour range...But if you loves to thinn down it for a best flow, you can use a ratio of three part of Primer and one part on Thinner, a pressure of 15-20 psi, even 24 psi, at a distance of 20 cm. from model. If you like to work close, you must to work with a pressure of 12-15 psi, because a high presure can dries the paint in the air, showing a "sandy" look over the model.
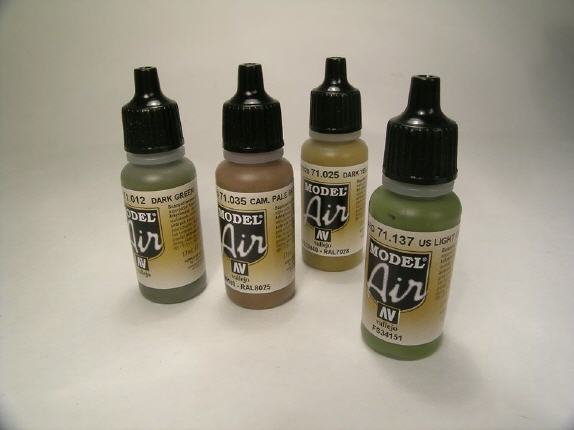
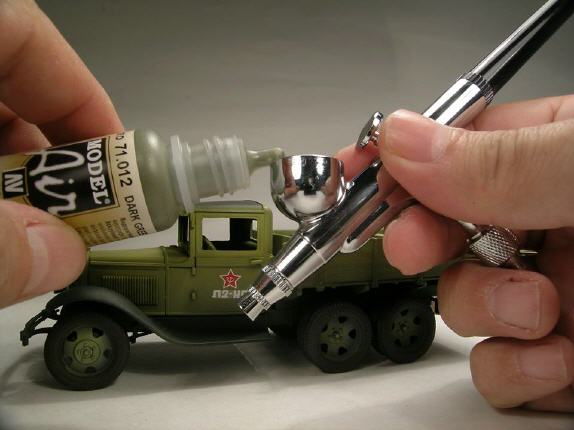
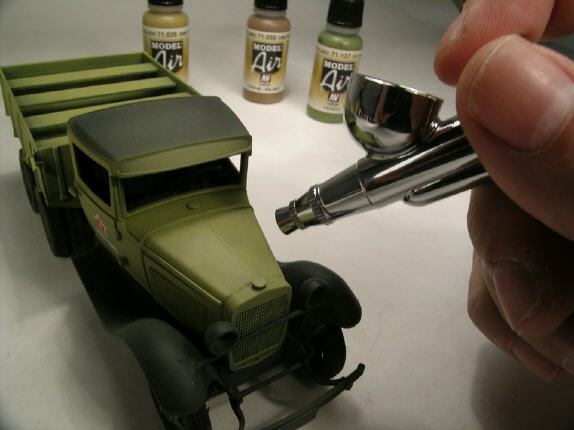
The well know range of acrylic colors designed for airbrush use. You can use directly on AB without problem. if you have any clog, for some reason, you can use thinner in a ratio of three parts of Model Air for one part of Thinner.
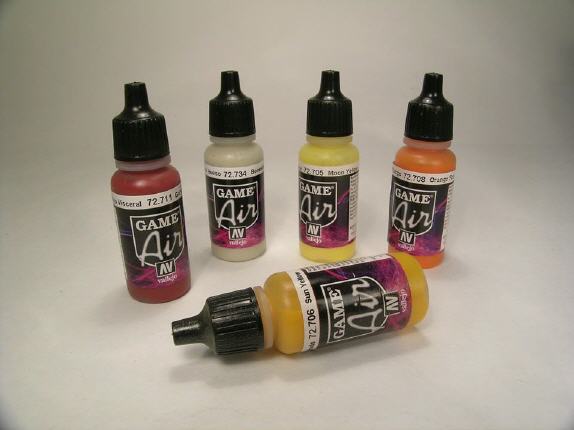
A complete range of fantasy colors, to use directly with Airbrush too. Similar to Model Air, you don't need thinner at all.
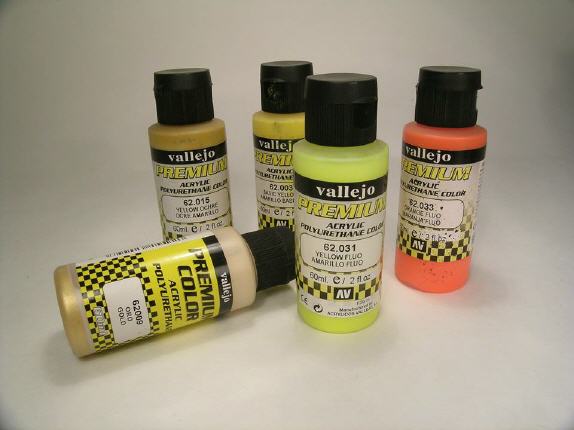
Premium colors is a safe water based non toxic, highly versatile airbrush ready paint, suitable for all surfaces, but especially formulated for superior adhesion to metals, fiberglass, polyethylene, clear lexan polycarbonate, sloit car, RC bodies and all tuning and automotive applications.
The Model Color range, designed for a regular use by brush, even this one can be used by airbrush, with a ratio of thinner of two parts of thinner for two parts of paint, increasing a bit the compressor pressure to 15-20 psi
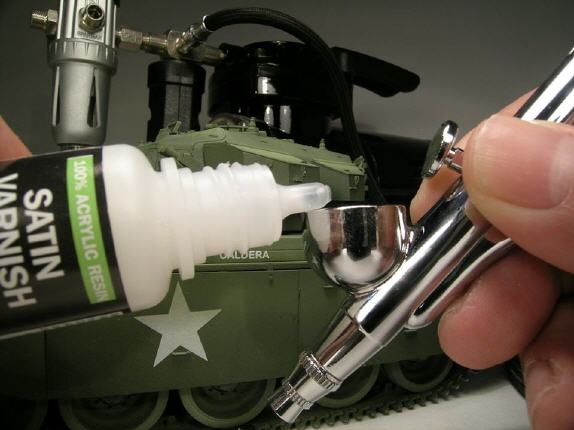
You can find too a range of varnishes, you can use it directly too in an Airbrush. remember a varnish can change the covering answer if you add too much thinner. Again ,the best ratio is one part of thinner (if you need it) for three parts of varnish, with several layers over the model.
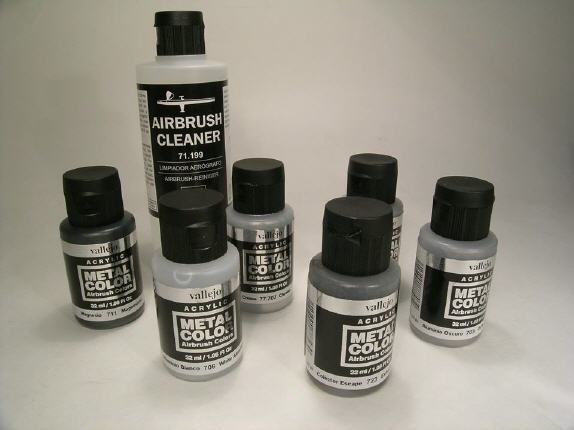
Metal Color is a new range of water based acrylic metallic colors, especially designed for airbrushing. In the development of these new and innovative metallic colors, the latest generation of aluminium pigments has been used, in a serie of colors with exceptional resistance and adherence to plastics, resin and metal.
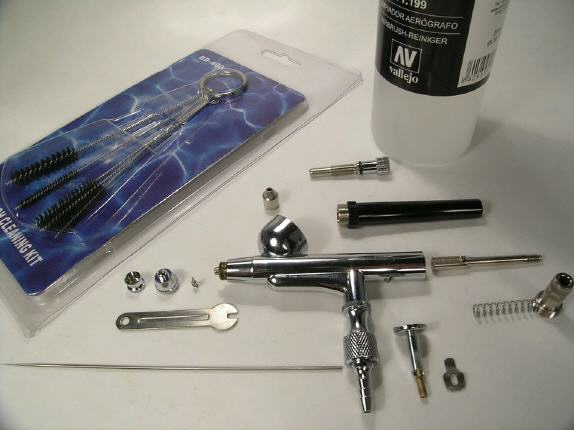
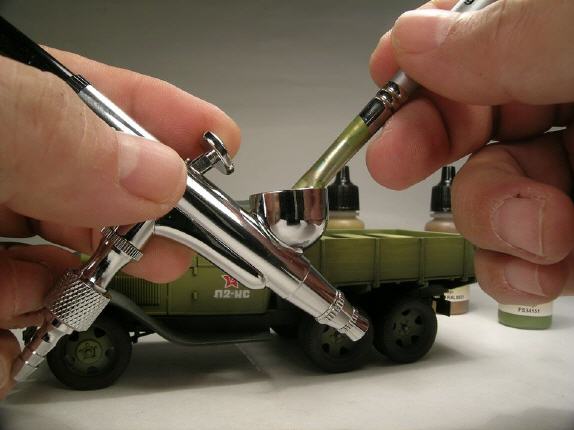
The Airbrush basic components. You don't need every time on work sessions to make a complete clean process, but is very important to check all parts, to clean it separately, a new and final clean when the assembling process finished and lubricate trigger and air hose connection.
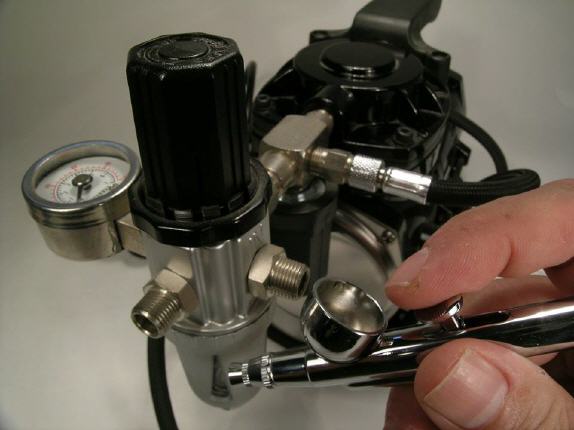
About air compressor pressure, the best ratio on dry athmosphere is 12-15 psi for a close distance from model (15 cm) and working with paints like Model Air or Game Air. Sme modellers loves to work with distance, about 20 cm, and in this case you can use 15-20 psi. If you are using Primer or Varnish, you can use 20-24 psi, because if you need to cover the model, you can increase the distance.
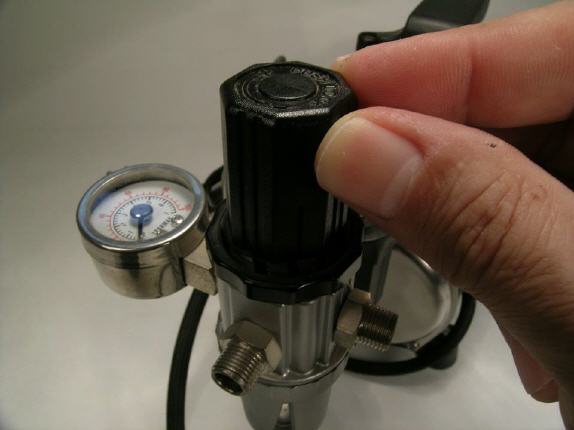
You can change the pressure too easily for a better flow, increassing it, but don't forget the paint can "dries" in the air if you are working at high distance with high pressure, creating a "sandy" surface over the model.
Sometimes, you can fix a clog problem just cleaning every 20 minutes the airbrush tip, regulating the compressor pressure and working with the best distance from model. Remember athmosphere conditions can change too the airbrush and paint answer.

If you are working close to model, a low pressure will be better. Excesive pressure can expand the paint over details or surface, even removing the paint coat...
When we are working with varnish, a mid distance will be better, for this reason, you can increase the pressure ratio to 15-20 psi.
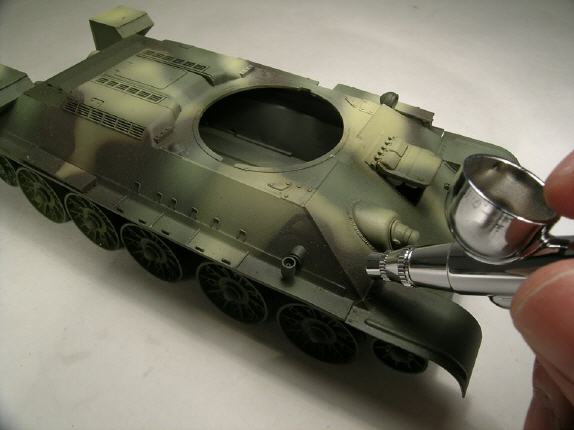
if you need to work with a short distance from model (painting freehand details, making camo areas, like shadow around details...) you need to work with a good flow of paint and a low pressure, 12-15 psi.
We can use the same ratio for varnish and Primer, increasing pressure and distance from model, with general layers to cover completely the model and all details
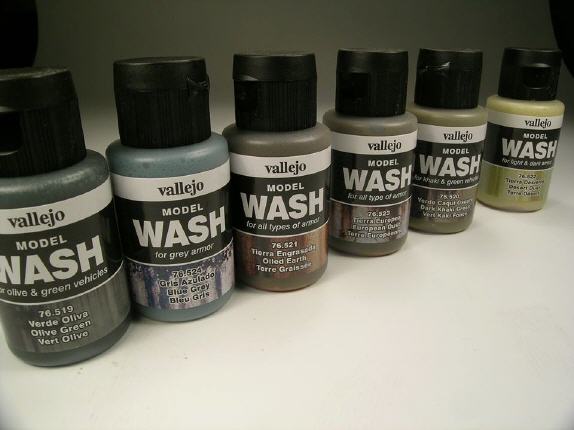
Formulated for a regular brush use over a model with thew weathering process, they can be used too like filters changing the shade of base paint, just using it with airbrush, shading some areas, for a dusty look, rust over surfaces on dioramas, around raised details or recessed lines, it dries in around 20 minutes. Water based and formulated with a modified acrylic resin.
PSI - Bar
10 - 0.69
11 - 0.76
12 - 0.83
13 - 0.90
14 - 0.97
15 - 1.03
16 - 1.10
17 - 1.17
18 - 1.24
19 - 1.31
20 - 1.38
21 - 1.45
22 - 1.52
23 - 1.59
24 - 1.65